

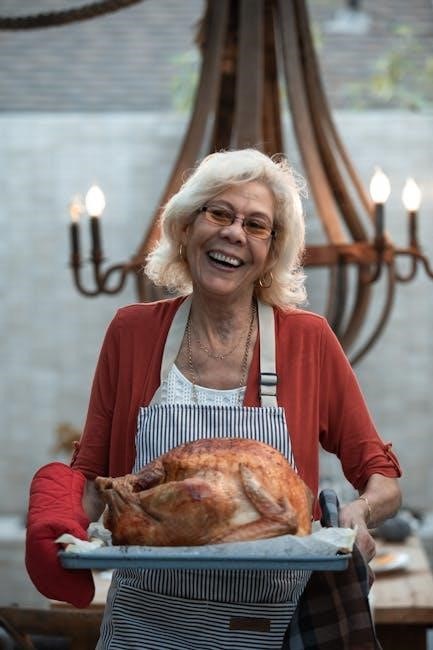
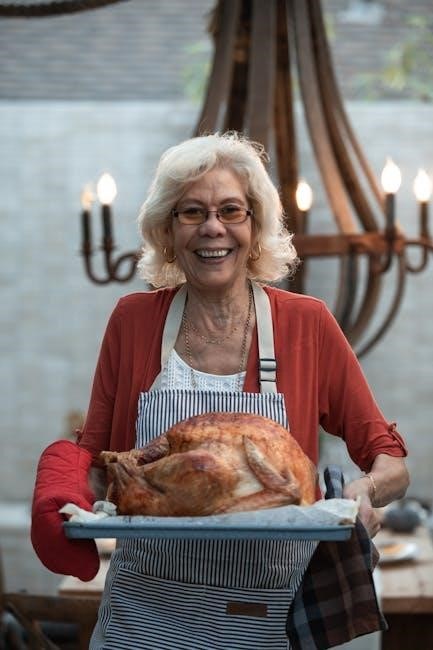
Welcome to the ultimate guide for cooking Jennie-O turkeys! Whether you’re a seasoned chef or a first-time cook, this guide ensures a perfectly cooked, deliciously moist turkey every time․
Overview of Jennie-O Turkeys
Jennie-O turkeys are a trusted choice for home cooks and professionals alike, offering high-quality, flavorful birds that simplify meal preparation․ Known for their convenience and consistency, Jennie-O turkeys are available in various formats, from whole birds to pre-seasoned options, catering to diverse preferences․ The brand emphasizes ease of cooking, with pre-brined and pre-stuffed turkeys that reduce prep time․ Jennie-O also provides extensive resources, including step-by-step guides and hotline support, ensuring success for cooks of all skill levels․ Their commitment to quality and customer support makes them a go-to option for achieving a deliciously moist and perfectly cooked turkey every time․
Importance of Proper Cooking Techniques
Proper cooking techniques are essential for achieving a safe, flavorful, and perfectly textured Jennie-O turkey․ Incorrect methods can lead to undercooked or overcooked meat, compromising both safety and quality․ Following Jennie-O’s guidelines ensures the turkey reaches the recommended internal temperature of 165°F, preventing foodborne illness․ Even cooking prevents dryness and promotes juicy results․ Additionally, proper techniques enhance the turkey’s natural flavor and presentation, making it the centerpiece of any meal․ By adhering to tried-and-tested methods, cooks can confidently deliver a deliciously moist and evenly cooked turkey every time, satisfying both family and guests․
Thawing and Preparing the Turkey
Thawing and preparing your Jennie-O turkey is the first step to ensuring a safe and flavorful meal․ Proper thawing methods, like refrigerator thawing or cold water thawing, prevent bacterial growth․ Pat drying the turkey and removing giblets are essential for even cooking and enhanced flavor․ These steps set the foundation for a perfectly cooked turkey, making the cooking process smoother and more successful․
How to Safely Thaw a Jennie-O Turkey
Safely thawing your Jennie-O turkey is crucial to prevent bacterial growth and ensure food safety․ The recommended method is to thaw the turkey in the refrigerator, allowing about 24 hours of thawing time for every 4-5 pounds․ For a quicker thaw, submerge the turkey in cold water, changing the water every 30 minutes․ Never thaw at room temperature or in hot water, as this can lead to bacterial contamination․ Always keep the turkey in its original packaging while thawing to prevent cross-contamination․ Once thawed, cook immediately․ Proper thawing ensures a safe and flavorful cooking experience․
Removing Giblets and Preparing for Cooking
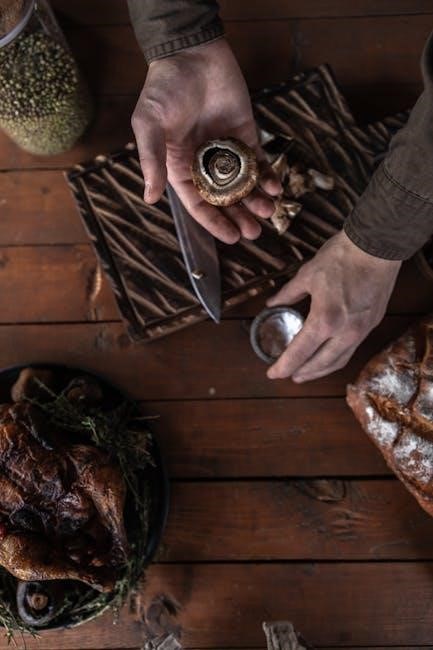
Before cooking, always remove the giblets and neck from the turkey cavity․ These are typically found in a bag or loose inside the cavity․ Rinse the turkey under cold water and pat dry with paper towels․ For a clean preparation, wear gloves to avoid cross-contamination․ If the turkey has a leg clamp or pop-up timer, leave it intact․ Ensure all packaging materials are removed, including the cooking bag if present․ Properly dispose of giblets and wash your hands thoroughly․ This step ensures the turkey is ready for seasoning and cooking․ A clean start guarantees a safe and flavorful meal․
Cooking Methods for Jennie-O Turkeys
Jennie-O turkeys offer flexibility for any cooking preference․ Choose from oven roasting, grilling, or cooking in a bag for a deliciously moist and flavorful result every time․
Oven Roasting: Step-by-Step Instructions
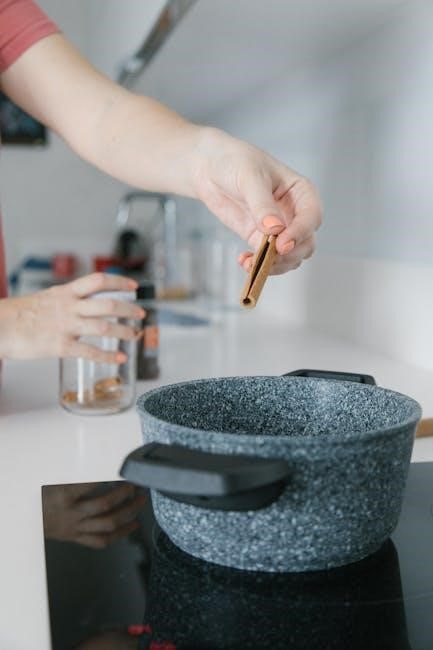
Preheat your oven to 325°F (160°C)․ Remove the giblets and neck from the turkey cavity․ Pat the turkey dry with paper towels, inside and out, for even browning․ Season the turkey as desired, either with herbs, spices, or a marinade․ Place the turkey in a roasting pan, breast side up, and tuck the wings under the body for stability․ Cover the turkey with aluminum foil to prevent over-browning․ Roast for the recommended time based on the turkey’s weight․ Baste the turkey with pan juices every 30 minutes to keep it moist․ Remove the foil in the last hour to crisp the skin․ Use a meat thermometer to ensure the internal temperature reaches 165°F (74°C) in the thickest part of the breast and 180°F (82°C) in the thigh․ Let the turkey rest before carving for juices to redistribute․
Grilling: Achieving Perfect Smoky Flavor
Preheat your grill to medium-low heat (around 325°F)․ Remove giblets and pat the turkey dry․ Season generously with your favorite spices or marinade․ Place the turkey in the center of the grill, away from direct flames, to avoid flare-ups․ Cover the grill and cook for about 20 minutes per pound, rotating the turkey halfway․ Use a meat thermometer to ensure the internal temperature reaches 165°F in the breast and 180°F in the thigh․ Let the turkey rest for 20-30 minutes before carving to retain juices․ Grilling adds a rich, smoky flavor and a crispy skin, making it a delicious alternative to oven roasting․
Cooking in a Bag: Pros and Tips
Cooking your Jennie-O turkey in a bag is a convenient and mess-free method that ensures even cooking and retention of juices․ Preheat your oven to 375°F, place the turkey in a food-grade oven bag, and add your favorite seasonings․ Seal the bag tightly, ensuring there are no holes, and poke a few small slits at the top for ventilation․ Cook according to the recommended time based on the turkey’s weight․ The bag traps steam, keeping the turkey moist and flavorful; This method also reduces cleanup and prevents the turkey from drying out․ For best results, use a high-quality oven bag and monitor the internal temperature to ensure it reaches 165°F․ This technique is perfect for achieving a golden-brown, juicy turkey with minimal effort․
Timing and Temperature Guidelines
Cooking a Jennie-O turkey requires precise timing and temperature control․ Use a meat thermometer to ensure the internal temperature reaches 165°F for safety and optimal doneness․
Recommended Internal Temperature for Safety
Cooking a Jennie-O turkey to the correct internal temperature is crucial for food safety․ The turkey must reach an internal temperature of 165°F, as measured by a meat thermometer․ This ensures that harmful bacteria are eliminated․ Insert the thermometer into the thickest part of the breast and the innermost part of the thigh, avoiding any bones or fat․ Never rely on appearance or cooking time alone, as these can be misleading․ Proper temperature control guarantees a safe and evenly cooked turkey․ Always use a digital thermometer for accuracy and check multiple areas to confirm uniform doneness․
Approximate Cooking Times by Turkey Weight
Cooking time varies based on the turkey’s weight and cooking method․ For oven roasting at 325°F, an 8-12 pound turkey takes about 2․5 to 3 hours, while a 12-14 pound turkey requires 3 to 3․5 hours․ A 14-18 pound turkey cooks in 3․5 to 4 hours, and an 18-20 pound turkey takes 4 to 4․5 hours․ Grilling or other methods may alter these times slightly․ Always use a meat thermometer to ensure the internal temperature reaches 165°F for safety․ Check multiple areas, including the breast and thigh, to confirm doneness․ These guidelines help achieve a perfectly cooked turkey every time․
Post-Cooking Practices
After cooking, let the turkey rest 20-30 minutes before carving to retain juices․ Store leftovers in sealed containers within two hours of cooking for safety and freshness․
Letting the Turkey Rest Before Carving
Letting your Jennie-O turkey rest is a crucial step before carving․ After cooking, remove the turkey from the oven or grill and place it on a carving board․ Tent the turkey loosely with aluminum foil to retain heat without trapping steam․ Allow it to rest for 20-30 minutes․ This process ensures the juices redistribute evenly, resulting in tender and flavorful meat․ Use this time to prepare sides or finalize other dishes․ Resting also makes carving easier and prevents the turkey from drying out․ For best results, resist the temptation to carve immediately—patience will yield a perfectly moist and delicious turkey․
Storing Leftovers Safely
After carving, cool the turkey to room temperature within two hours to prevent bacterial growth․ Use shallow, airtight containers to store leftovers, ensuring they are refrigerated at 40°F or below․ Consume leftovers within 3 to 4 days․ For longer storage, freeze at 0°F or below, where leftovers can last up to 4 months․ Label and date containers for easy tracking․ Reheat leftovers to an internal temperature of 165°F for food safety․ Proper storage ensures your Jennie-O turkey remains delicious and safe to eat for days after cooking․ Always prioritize food safety when handling and storing leftovers․
Additional Resources for Success
Visit the Jennie-O website for detailed cooking guides, tips, and recipes․ Their hotline also offers real-time assistance for any cooking questions or concerns you may have․
Using the Jennie-O Website for Support
The Jennie-O website is a comprehensive resource for turkey cooking․ It offers detailed guides, step-by-step videos, and recipes to ensure your turkey turns out perfectly․ Visit http://www․jennieo․com for expert tips and troubleshooting․ The site also features a live chat option for immediate assistance․ Whether you’re unsure about thawing times or cooking methods, Jennie-O’s online support ensures you’re never alone in the kitchen․ Use their tools to plan your meal confidently and achieve a delicious, stress-free result every time․
Hotline Assistance for Cooking Questions
Jennie-O offers a dedicated hotline for all your turkey cooking questions․ Call 1-800-621-3505 for expert advice on thawing, cooking, and storing your turkey․ The hotline is available to assist with any concerns, ensuring your meal is perfect․ Representatives are trained to provide tips on achieving the best flavor and texture․ Whether you’re unsure about internal temperatures or cooking times, the hotline is a reliable resource․ This service is especially helpful for first-time cooks or those looking to try new methods․ Don’t hesitate to reach out for guidance—Jennie-O’s hotline is your ultimate cooking safety net․
Thank you for following our comprehensive guide to cooking a perfect Jennie-O turkey․ With these expert tips, you’re ready to impress your family and friends․ Happy cooking!
Final Tips for a Perfect Jennie-O Turkey
For a flawless Jennie-O turkey, always brine or season generously before cooking․ Ensure the turkey is fully thawed and pat dry for crispy skin․ Use a meat thermometer to confirm the internal temperature reaches 165°F․ Tent the turkey with foil if browning too quickly․ Let it rest 20-30 minutes before carving to retain juices; Don’t overstuff, and consider cooking stuffing separately for safety․ For additional support, utilize Jennie-O’s hotline for real-time assistance․ With these tips, your turkey will be moist, flavorful, and perfectly cooked every time․ Happy cooking!
Encouragement for First-Time Cooks
Cooking a Jennie-O turkey for the first time? Don’t worry! With proper planning and simple steps, you’ll achieve a delicious, moist turkey․ Start by thawing your turkey safely and following the recommended cooking times․ Season generously and use a meat thermometer to ensure it reaches 165°F internally․ Let the turkey rest before carving to lock in juices․ Remember, it’s okay to ask for help—Jennie-O’s hotline and website are great resources․ Take your time, stay calm, and enjoy the process․ Your hard work will result in a memorable meal that impresses everyone․ Happy cooking!